The Definitive Guide to Yii 2.0
4 followers
Saying Hello 
This section describes how to create a new "Hello" page in your application. To achieve this goal, you will create an action and a view:
- The application will dispatch the page request to the action
- and the action will in turn render the view that shows the word "Hello" to the end user.
Through this tutorial, you will learn three things:
- how to create an action to respond to requests,
- how to create a view to compose the response's content, and
- how an application dispatches requests to actions.
Creating an Action 
For the "Hello" task, you will create a say action that reads
a message parameter from the request and displays that message back to the user. If the request
does not provide a message parameter, the action will display the default "Hello" message.
Info: Actions are the objects that end users can directly refer to for execution. Actions are grouped by controllers. The execution result of an action is the response that an end user will receive.
Actions must be declared in controllers. For simplicity, you may
declare the say action in the existing SiteController. This controller is defined
in the class file controllers/SiteController.php. Here is the start of the new action:
<?php

namespace app\controllers;

use yii\web\Controller;

class SiteController extends Controller
{
    // ...existing code...

    public function actionSay($message = 'Hello')
    {
        return $this->render('say', ['message' => $message]);
    }
}
In the above code, the say action is defined as a method named actionSay in the SiteController class.
Yii uses the prefix action to differentiate action methods from non-action methods in a controller class.
The name after the action prefix maps to the action's ID.
When it comes to naming your actions, you should understand how Yii treats action IDs. Action IDs are always
referenced in lower case. If an action ID requires multiple words, they will be concatenated by dashes
(e.g., create-comment). Action method IDs are mapped to action names by removing any dashes from the IDs,
capitalizing the first letter in each word, and prefixing the resulting string with action. For example,
the action ID create-comment corresponds to the action method name actionCreateComment.
The action method in our example takes a parameter $message, whose value defaults to "Hello" (in exactly
the same way you set a default value for any function or method argument in PHP). When the application
receives a request and determines that the say action is responsible for handling said request, the application will
populate this parameter with the same named parameter found in the request. In other words, if the request includes
a message parameter with a value of "Goodbye", the $message variable within the action will be assigned that value.
Within the action method, render() is called to render
a view file named say. The message parameter is also passed to the view
so that it can be used there. The rendering result is returned by the action method. That result will be received
by the application and displayed to the end user in the browser (as part of a complete HTML page).
Creating a View 
Views are scripts you write to generate a response's content.
For the "Hello" task, you will create a say view that prints the message parameter received from the action method:
<?php
use yii\helpers\Html;
?>
<?= Html::encode($message) ?>
The say view should be saved in the file views/site/say.php. When the method render()
is called in an action, it will look for a PHP file named as views/ControllerID/ViewName.php.
Note that in the above code, the message parameter is HTML-encoded
before being printed. This is necessary as the parameter comes from an end user, making it vulnerable to
cross-site scripting (XSS) attacks by embedding
malicious JavaScript code in the parameter.
Naturally, you may put more content in the say view. The content can consist of HTML tags, plain text, and even PHP statements.
In fact, the say view is just a PHP script that is executed by the render() method.
The content printed by the view script will be returned to the application as the response's result. The application will in turn output this result to the end user.
Trying it Out 
After creating the action and the view, you may access the new page by accessing the following URL:
https://hostname/index.php?r=site%2Fsay&message=Hello+World
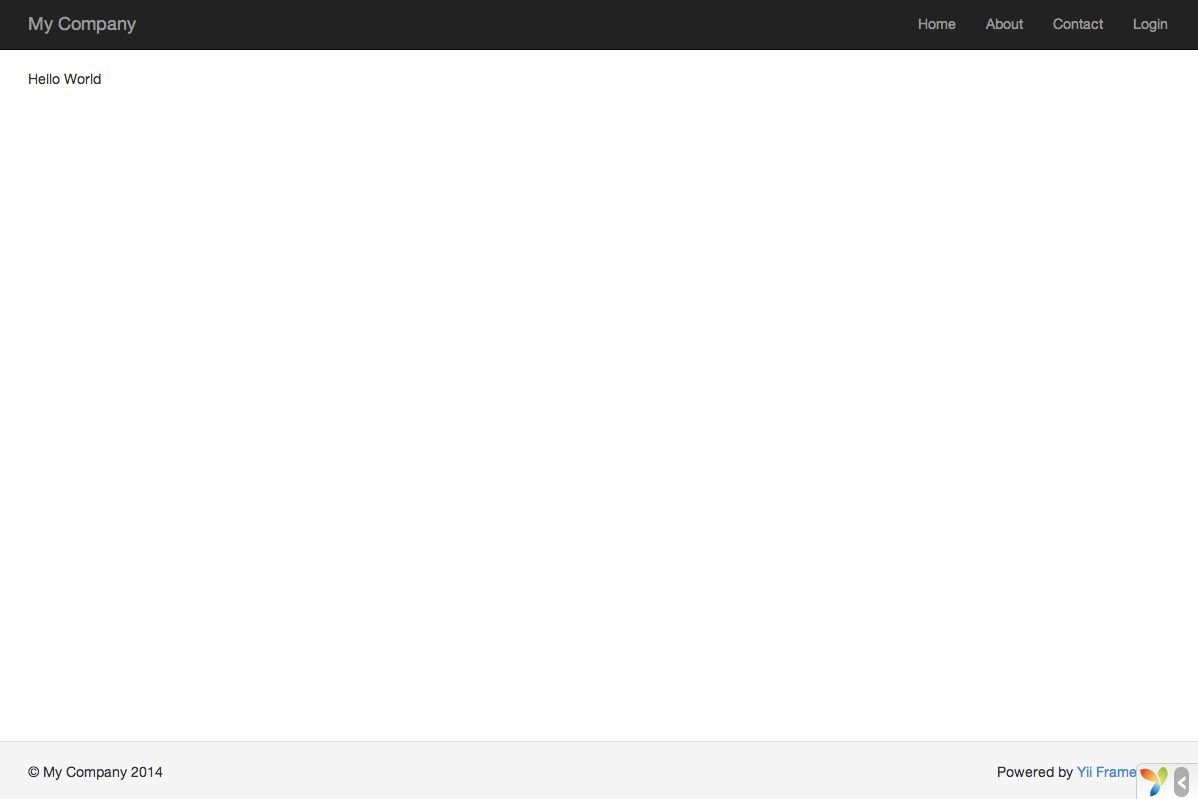
This URL will result in a page displaying "Hello World". The page shares the same header and footer as the other application pages.
If you omit the message parameter in the URL, you would see the page display just "Hello". This is because message is passed as a parameter to the actionSay() method, and when it is omitted,
the default value of "Hello" will be used instead.
Info: The new page shares the same header and footer as other pages because the render() method will automatically embed the result of the
sayview in a so-called layout which in this case is located atviews/layouts/main.php.
The r parameter in the above URL requires more explanation. It stands for route, an application wide unique ID
that refers to an action. The route's format is ControllerID/ActionID. When the application receives
a request, it will check this parameter, using the ControllerID part to determine which controller
class should be instantiated to handle the request. Then, the controller will use the ActionID part
to determine which action should be instantiated to do the real work. In this example case, the route site/say
will be resolved to the SiteController controller class and the say action. As a result,
the SiteController::actionSay() method will be called to handle the request.
Info: Like actions, controllers also have IDs that uniquely identify them in an application. Controller IDs use the same naming rules as action IDs. Controller class names are derived from controller IDs by removing dashes from the IDs, capitalizing the first letter in each word, and suffixing the resulting string with the word
Controller. For example, the controller IDpost-commentcorresponds to the controller class namePostCommentController.
Summary 
In this section, you have touched the controller and view parts of the MVC architectural pattern.
You created an action as part of a controller to handle a specific request. And you also created a view
to compose the response's content. In this simple example, no model was involved as the only data used was the message parameter.
You have also learned about routes in Yii, which act as the bridge between user requests and controller actions.
In the next section, you will learn how to create a model, and add a new page containing an HTML form.
Found a typo, or you think this page needs improvement?
Edit it on GitHub !
Signup or Login in order to comment.